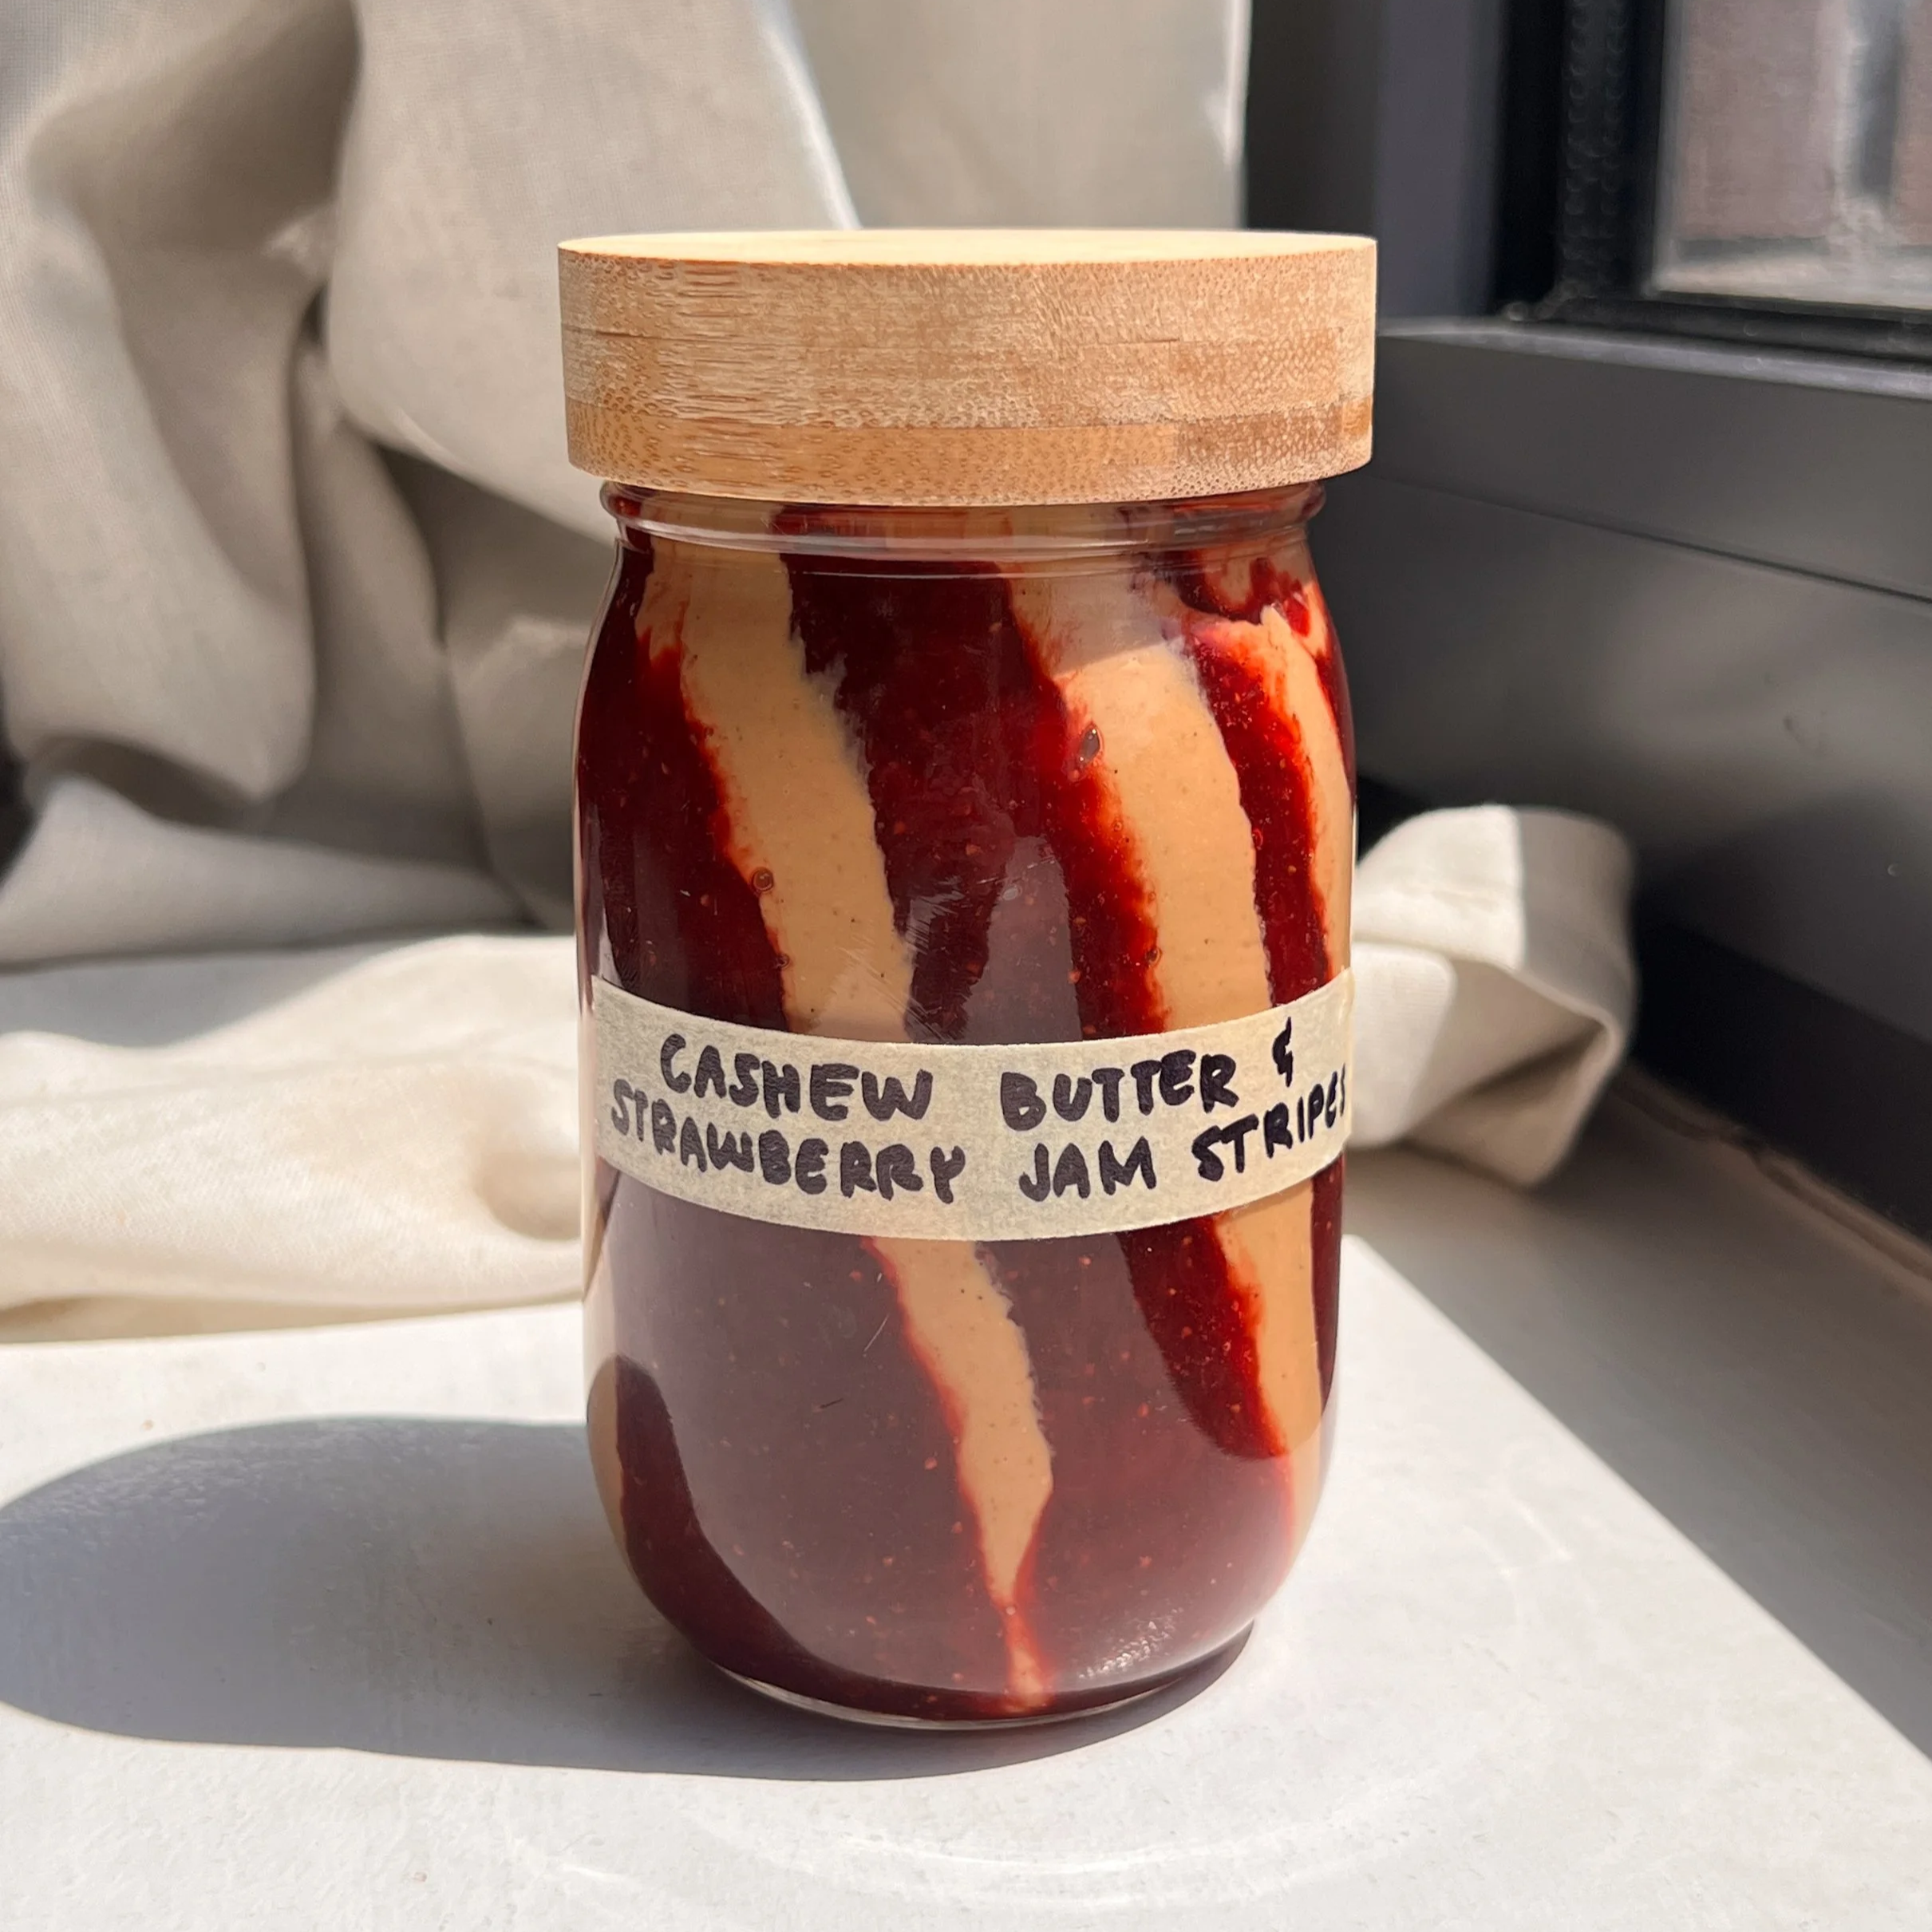
Cashew Butter and Strawberry Jam Stripes
Recreating the Stripes Jar
Who else remembers those iconic striped PB&J jars from childhood? They were a frequent after-school comfort food of mine, and I’ve been dying to recreate that exact visual nostalgia using more sophisticated, adult flavor profiles and peak-season ingredients. Because as well all know, I love a good nut butter.
To bring this vision to life, I teamed up with Farm to People*—an incredible team on a mission to connect New Yorkers with regional farmers and makers, delivering the very best of the farmers market right to your door. In an era where we’ve grown so accustomed to having every fruit and produce item basically available 365 days a year, we’ve collectively forgotten how beautiful and flavorful peak season produce really is.
For this recipe, I wanted to highlight strawberries because it’s peak season for them right now in the Northeast. However, strawberry season is notoriously short: and what better way to preserve the vibrant, sweet, and bright strawberry flavor than in a jam? To pair with the jam, I opted for a creamy double vanilla roasted cashew butter. The warm, nutty notes of the cashew butter perfectly compliment the tartness of the berries without overwhelming them.
*Click here and use code AUDREYSTABLE to get $25 off your first Farm Box, either a seasonal produce or cook's box!
Visual Guide and Process Checkpoints
Some general tips for stripes jar success.
Don’t skip the maceration phase
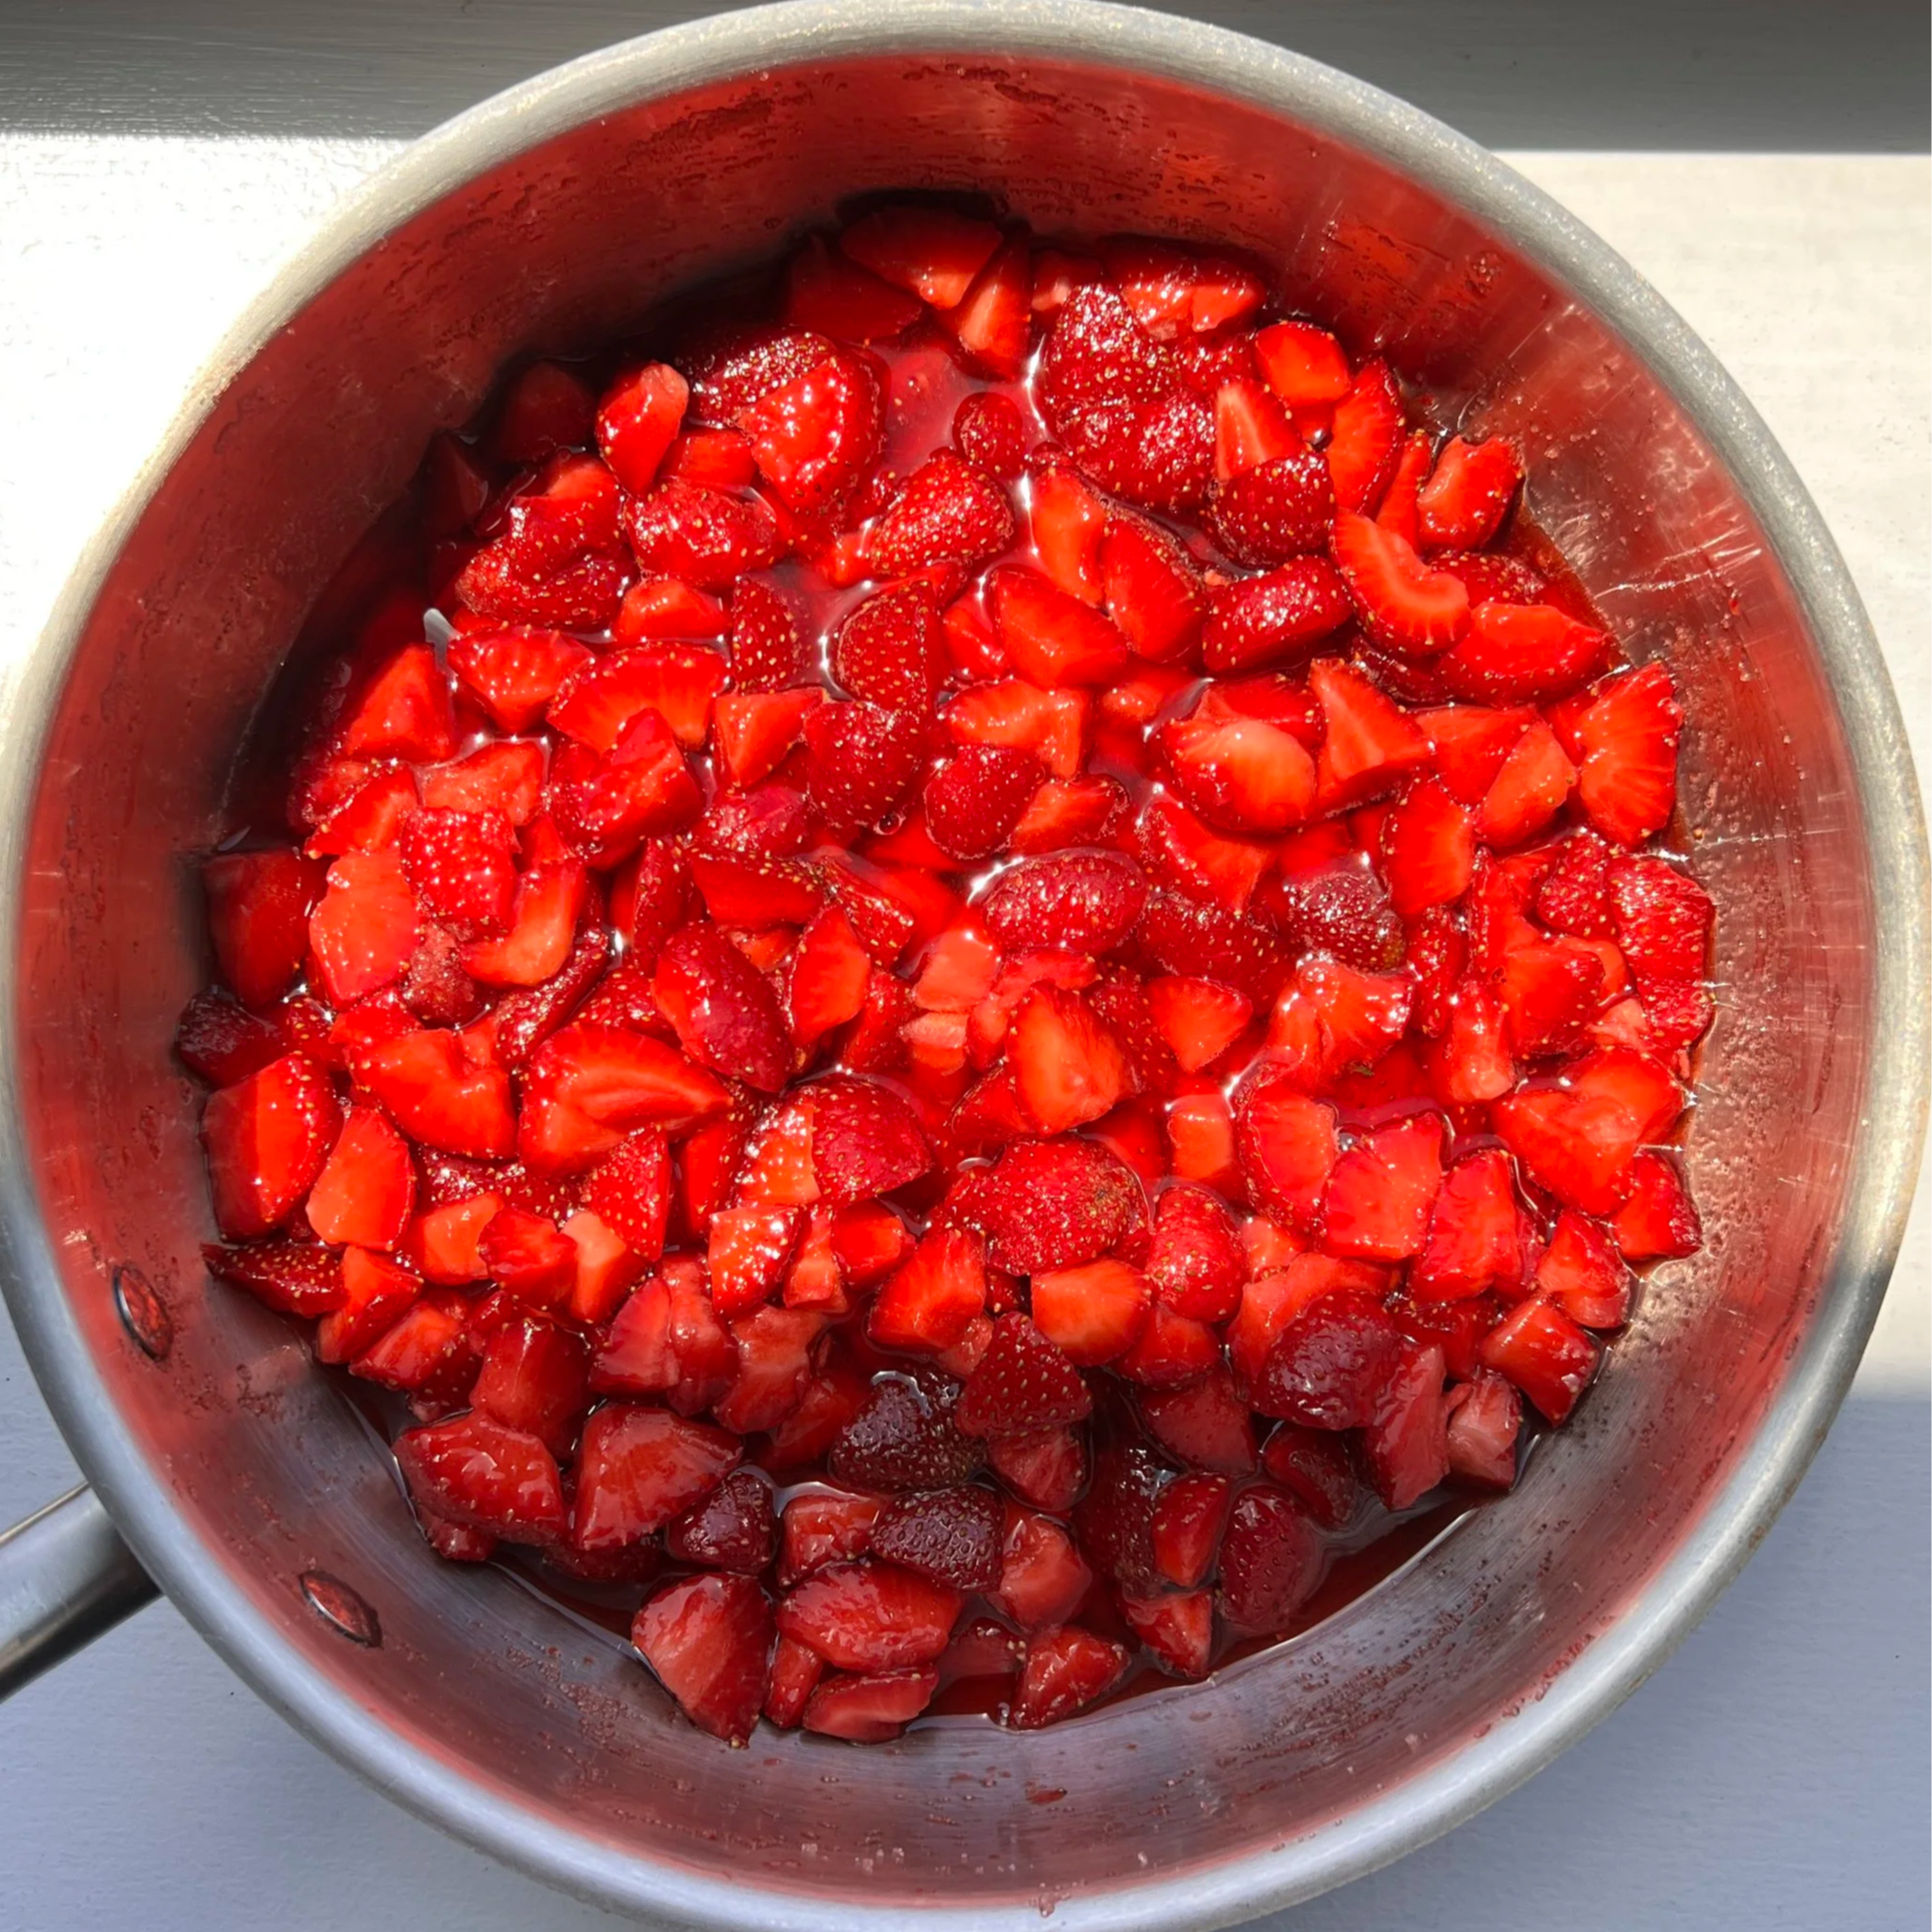
Unless you’re really in a rush, I recommend macerating the strawberries with the lemon juice and granulated sugar for at least an hour, to ideally overnight (in the fridge). This process draws out the natural juices and pectin in strawberries, which leads to a deeper, more fruit-foward flavor and also aids in the jam-setting process since we are not adding pectin in this recipe. It also speeds up the cooking process and ensures the dry sugar doesn’t burn or caramelize when cooking (since it’s already hydrated with the natural strawberry juices).
Knowing when the jam is done
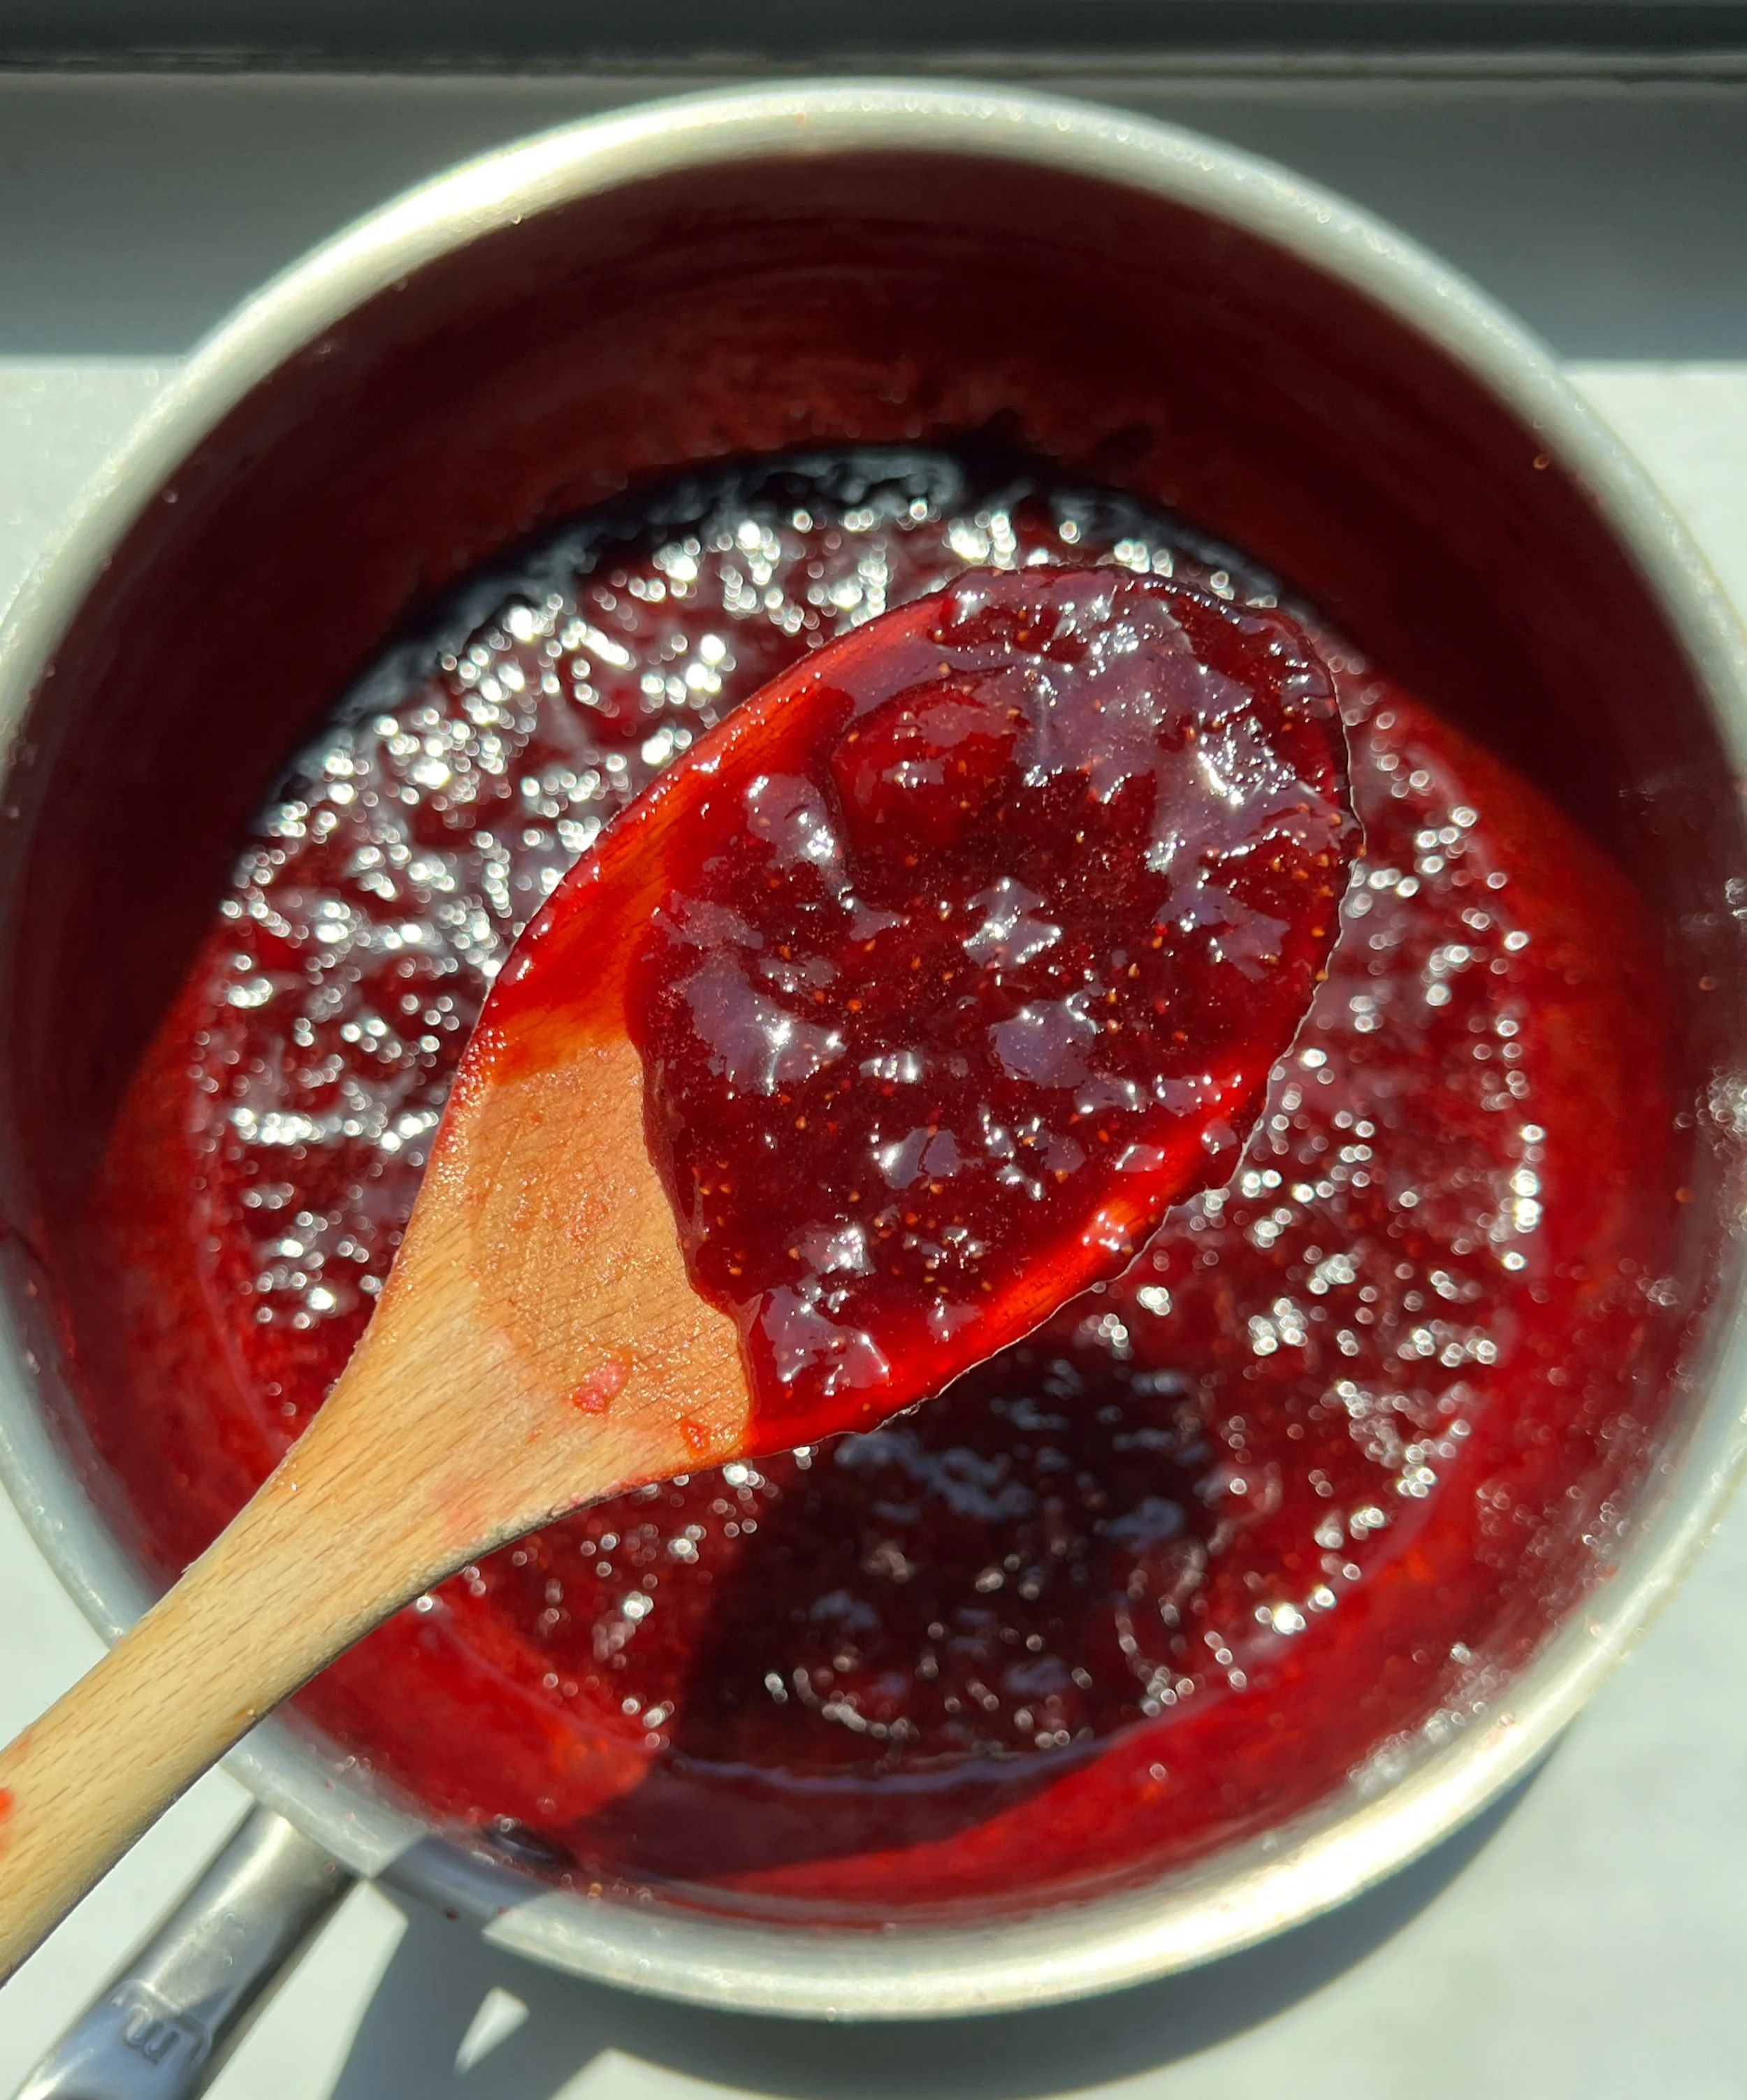
This is often the hardest part of making any jam: knowing when it’s done. You don’t want to end up with a runny jam soup or an overcooked jam that is so thick it’s nearly unspreadable. So here are two ways you can check for jam doneness:
Temperature check (my preferred method): Once the jam reaches 220F, you know it’s done
The plate test: stick a small plate in the freezer for a few minutes, and when you think the jam is thickened enough and glossy, dollop a small amount on the chilled plate. Return the plate to the freezer for a couple minutes, then push the jam with your finger. If the jam “wrinkles” and leaves a clear trail of your finger, it’s ready. If the jam stays runny, continue cooking.
Tips for a smooth cashew butter
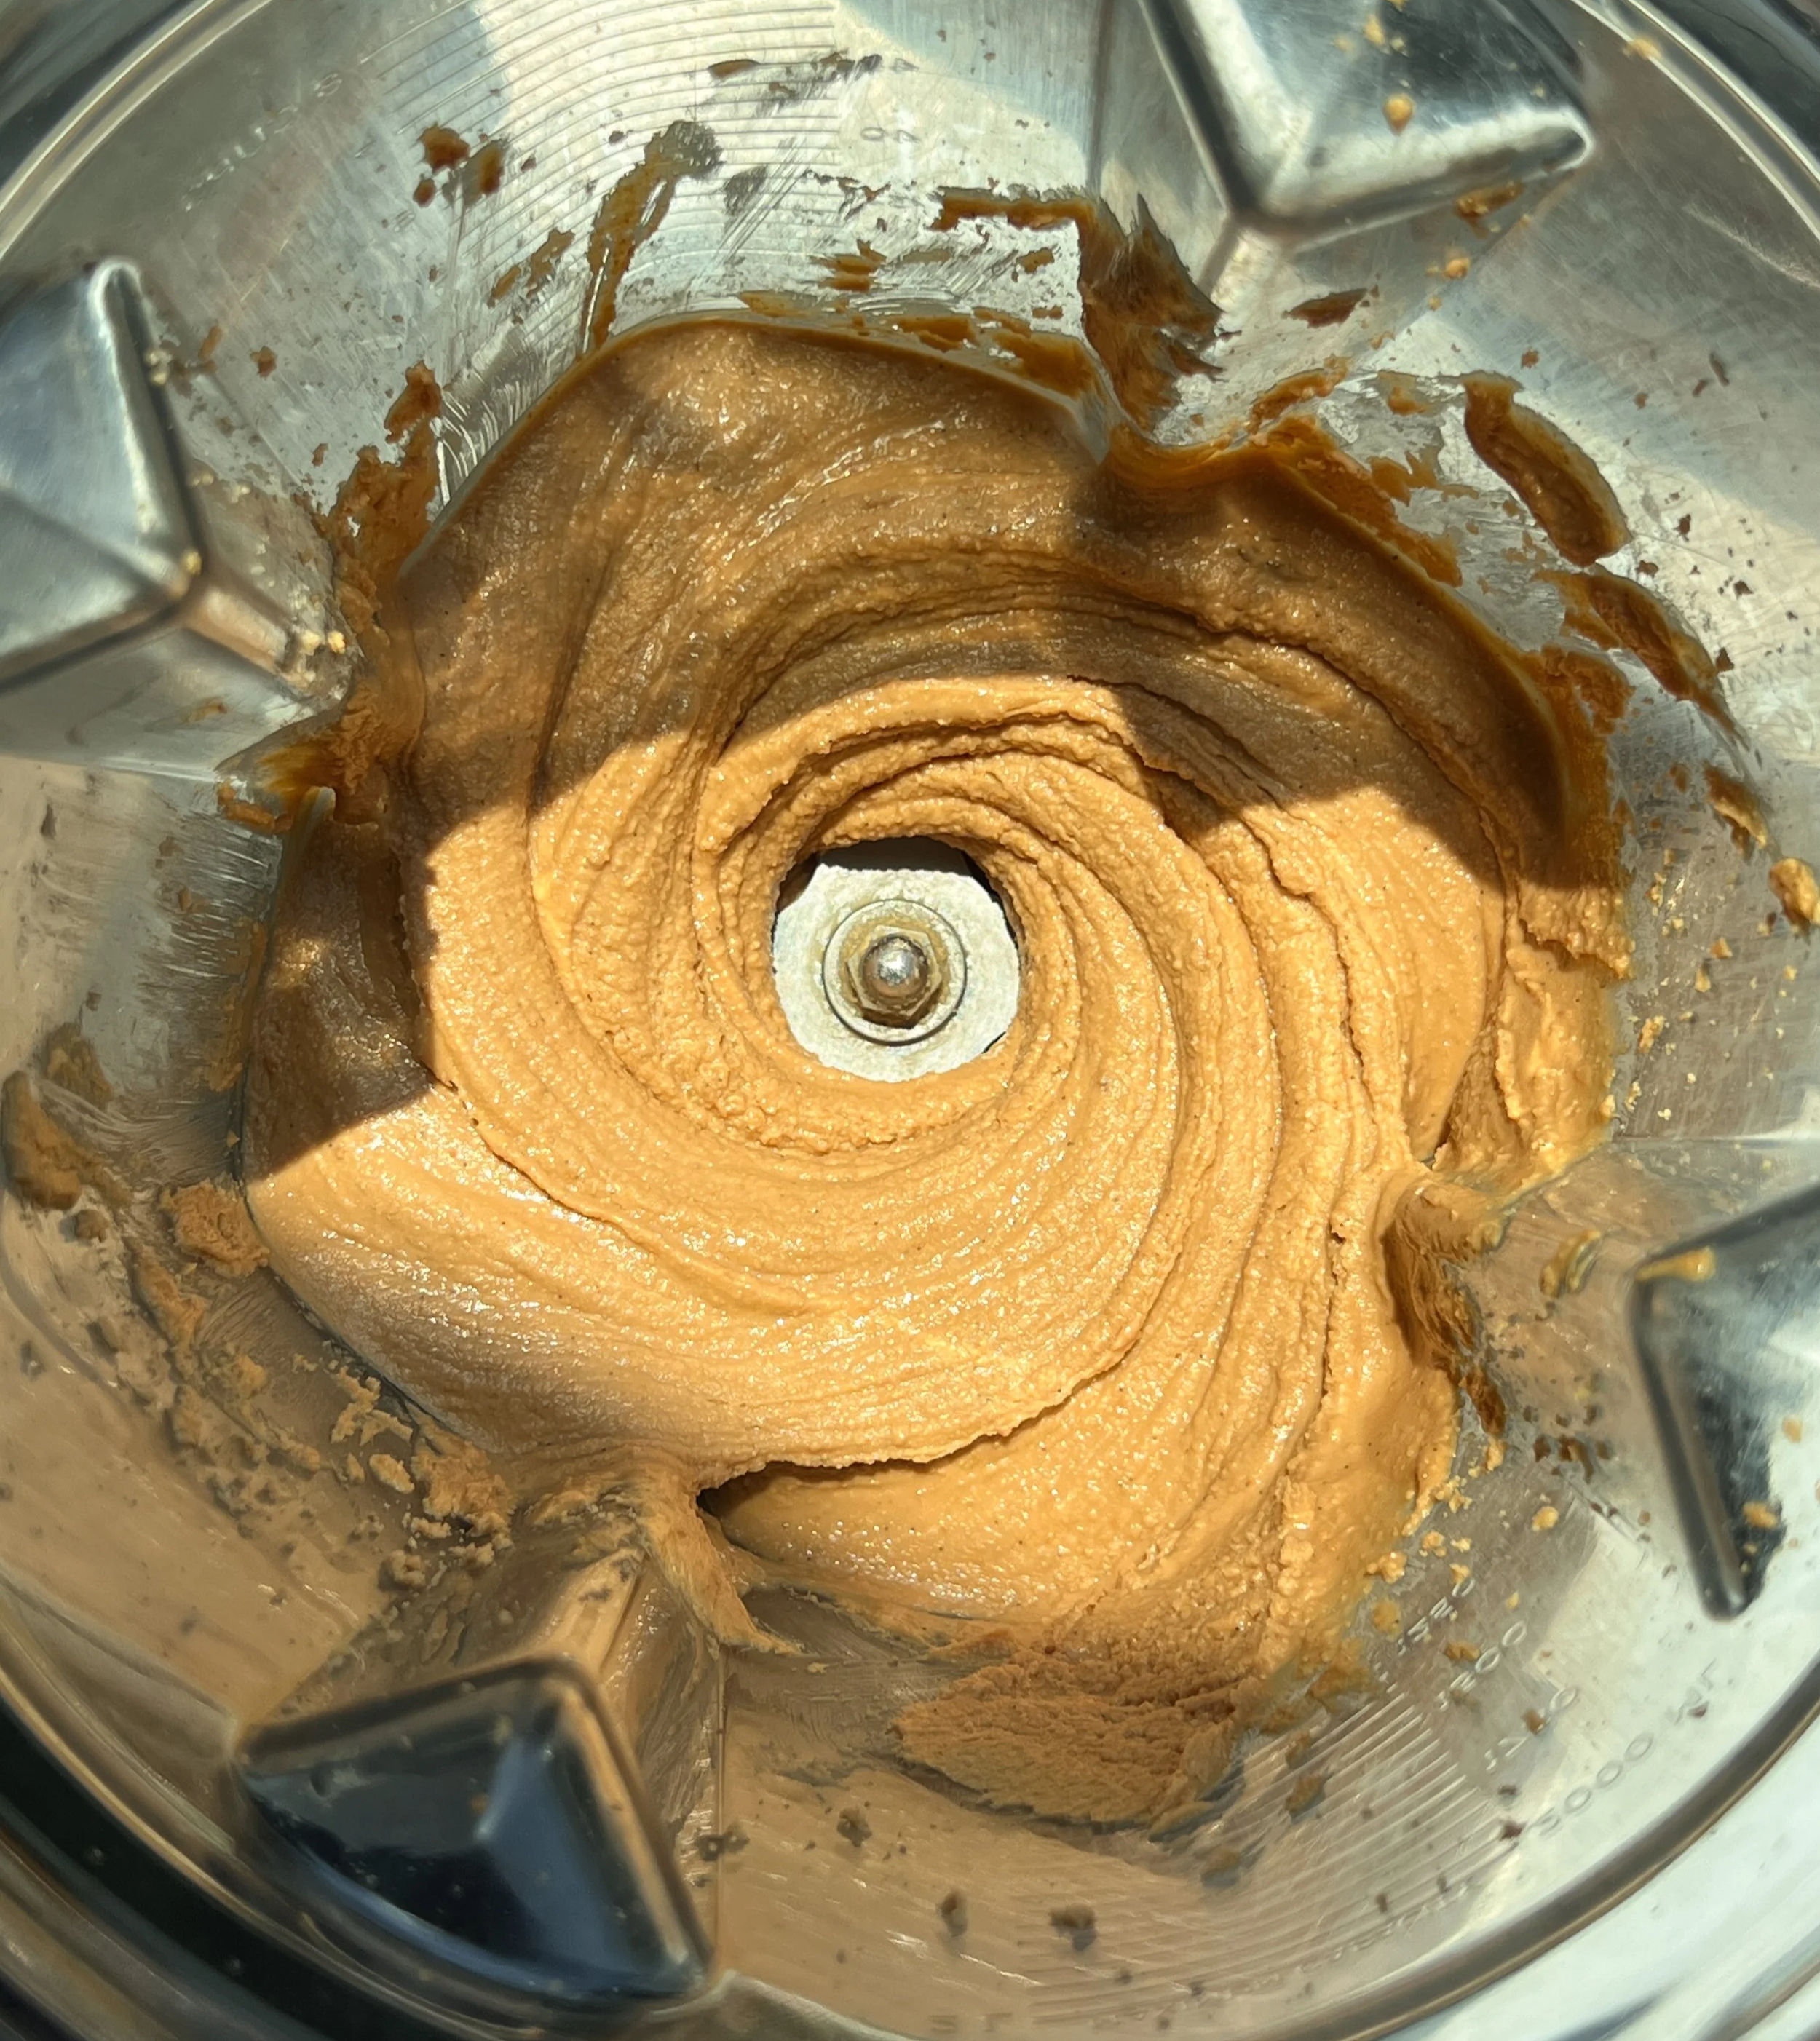
Homemade nut butters can be intimidating, but with a few tips, I promise it’s not that scary:
Use a blender or food processor with a strong motor. I use the Vitamix E310 and it works great, but other powerful blenders or food processors should do the trick.
Blend the roasted nuts while they’re slightly warm. This will make it easier to release their natural oils while blending, giving you that ultra smooth emulsification.
Add the vanilla bean and vanilla extract at the end. It should easily blend in, and you don’t have to be concerned about “cooking” any of the vanilla flavors away.
If you want more tips on nut butter success, I have some Nut Butter FAQs up on Instagram: Part One and Part Two.
Piping the stripes might get messy
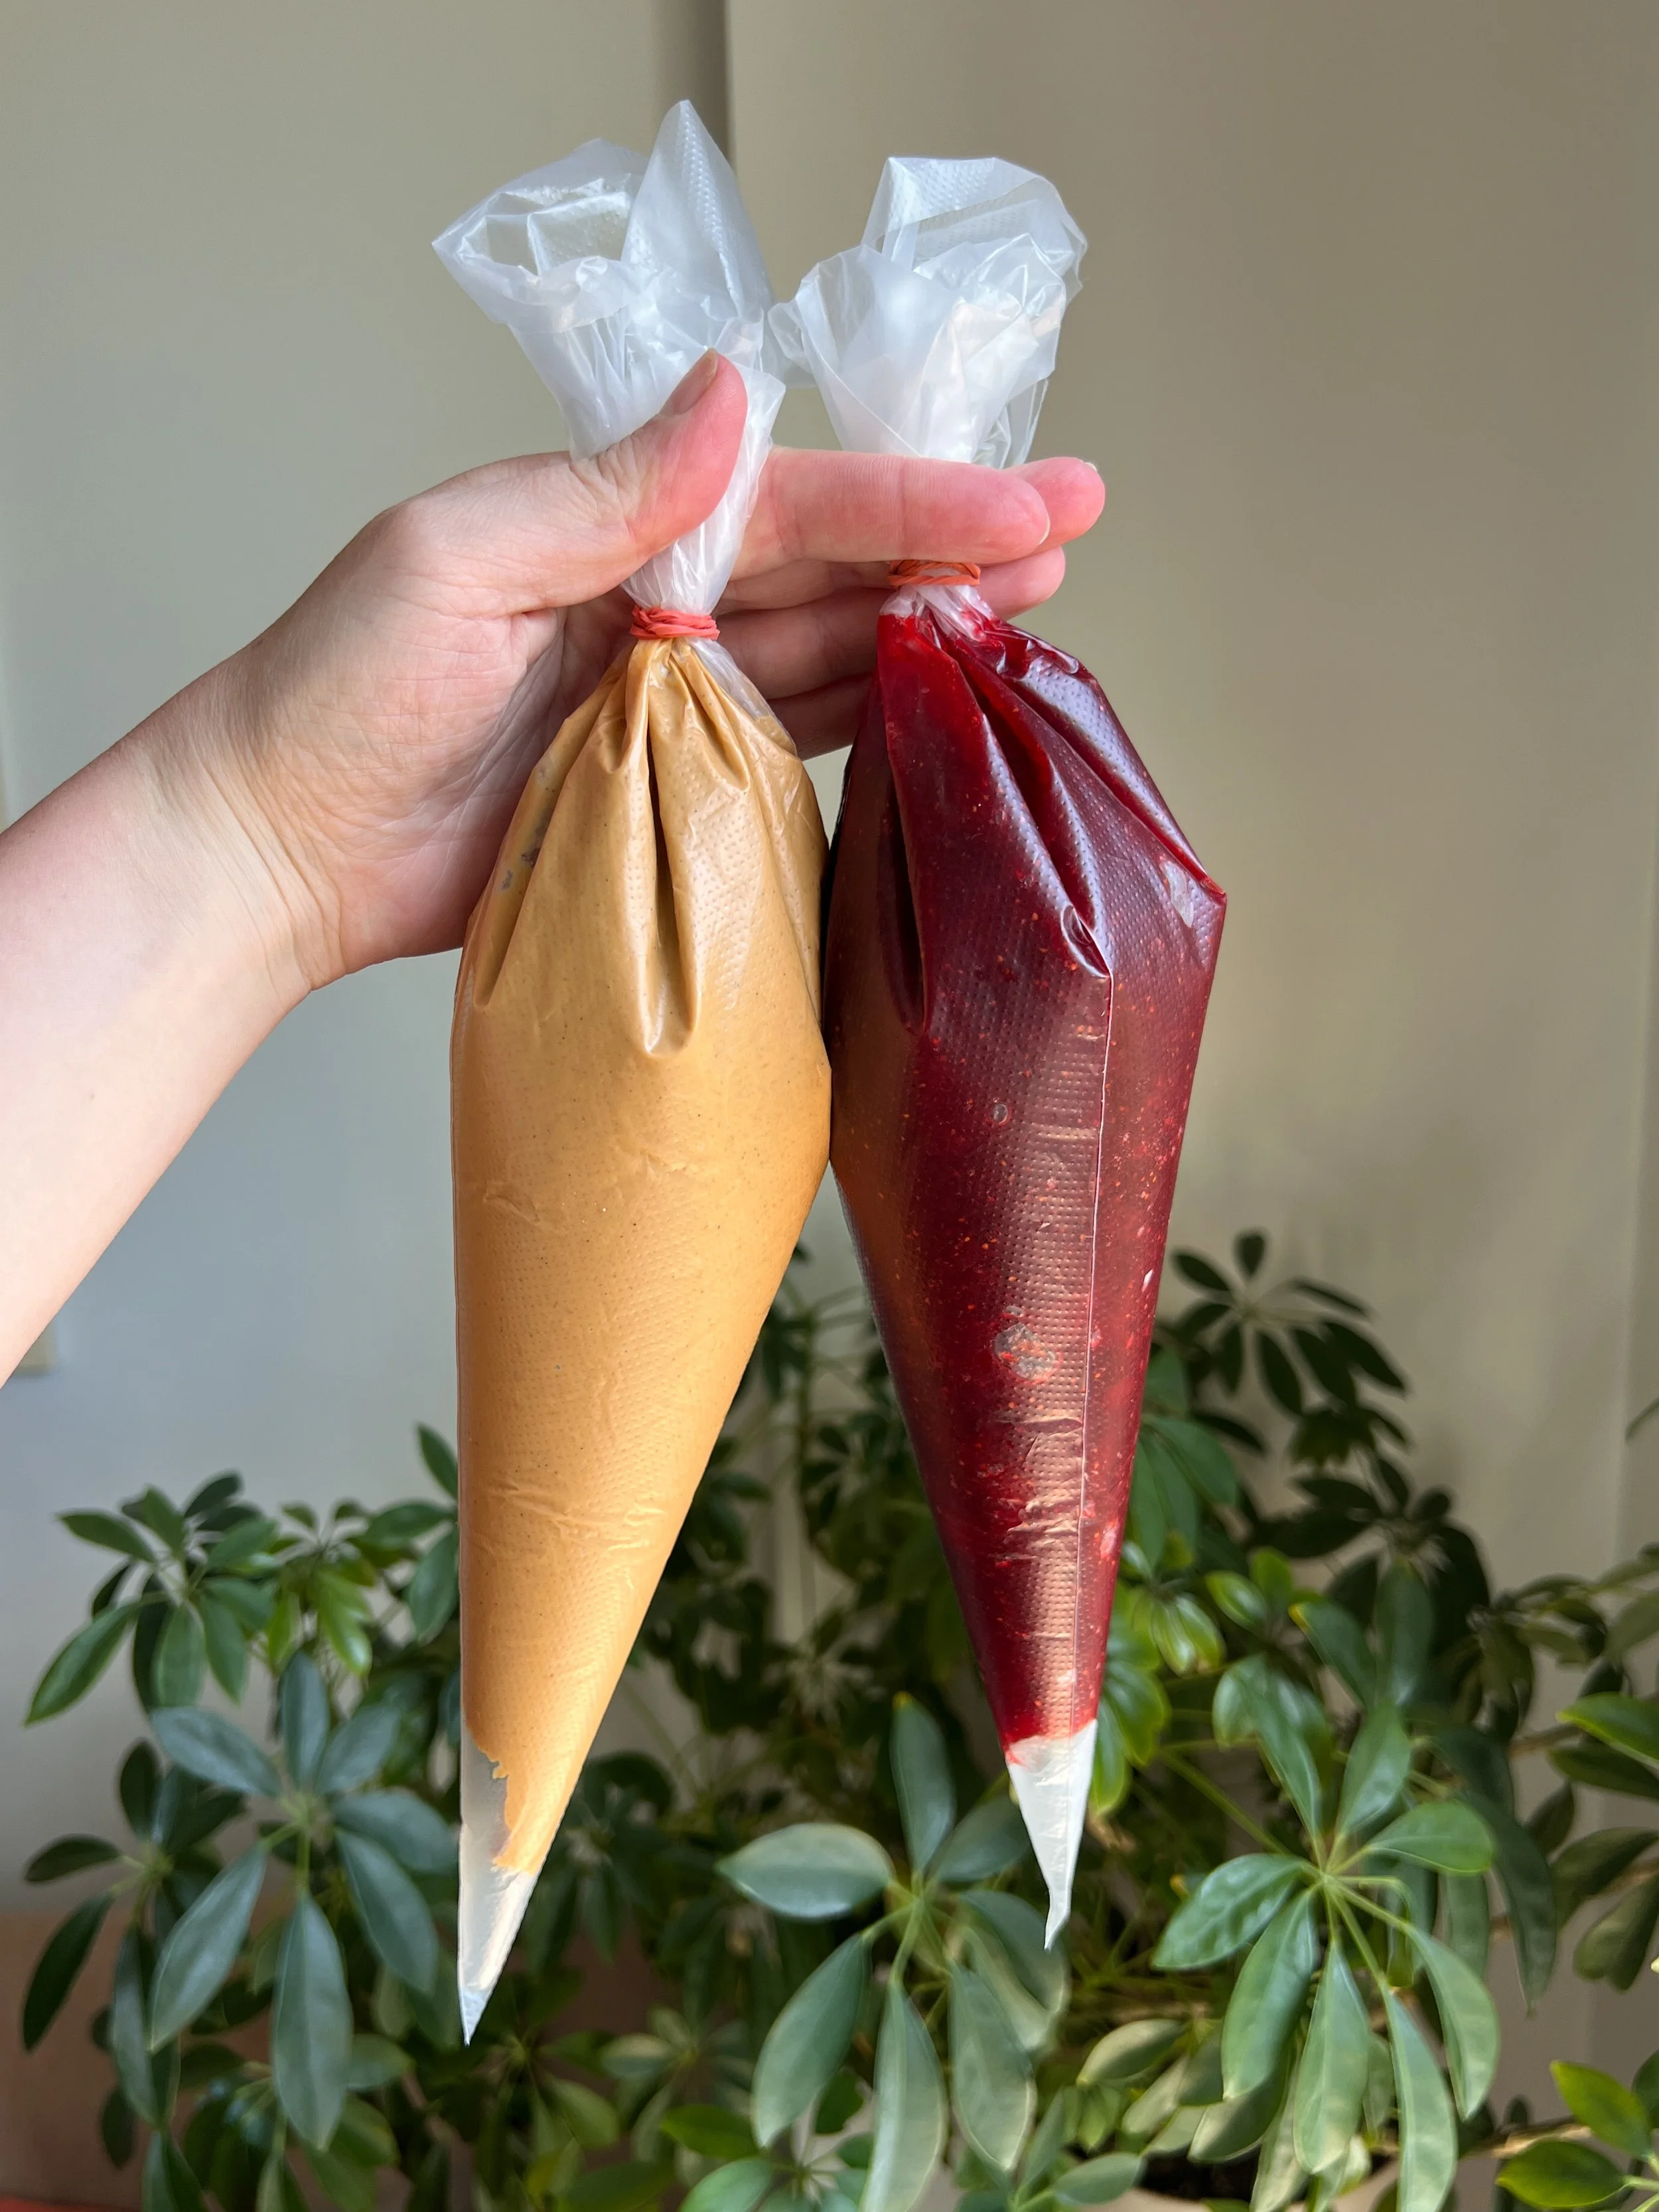
We obviously don’t have industrial Stripes piping machines at home (and if you do… well, I’m impressed). So the easiest way I’ve found to make those classic vertical “stripes” of jam and nut butter in a jar is using piping bags.
Tilting the jar sideways, start with the cashew butter and pipe one long strip from the bottom to the top. Switch to the strawberry jam and pipe another line next to it. Continue alternating between the two, building up to the top. Try not to tilt the jar upright until you’re finished, or else it will all mush to the bottom. Once it’s nearly full, it might be difficult to get clean strips, but that’s okay. It’ll taste good all the same!
If you’re interested in learning more about Farm to People, check out their website here. If you haven’t shopped with them before, you can get $25 off your first box! I’ve linked the Farm to People ingredients in the recipe below.
Now for the recipe!
Cashew Butter and Strawberry Jam Stripes
Prep Time: 30 minutes (plus optional 30–60 minute maceration)
Cook Time: 50 - 60 minutes
Servings: Makes approximately two 12 oz jars or one large 24 oz jar
Ingredients
Strawberry jam
900 g (2 lbs) fresh strawberries, stemmed and diced
272 g (1 ⅓ cups) granulated sugar
30 ml (2 tbsp) fresh lemon juice
Double vanilla cashew butter
510 g (~4 cups) raw cashews
15 ml (1 tbsp) vanilla extract
1 vanilla bean, split and seeds scraped
6 g (1 tsp) kosher salt
Directions
Strawberry jam
In a wide, heavy-bottomed pot, combine the diced strawberries, sugar, and lemon juice. Stir to coat the fruit and, if time permits, allow to macerate at room temperature for 30–60 minutes to draw out the natural juices.
Place the pot over medium-high heat and bring to a simmer, stirring to ensure the sugar is fully dissolved.
Reduce the heat to low and simmer for 30–40 minutes, stirring occasionally to prevent scorching at the bottom.
The jam is done when it is deeply glossy, significantly reduced, and reaches 220°F on a candy thermometer (or passes the chilled plate test).
Remove from heat and allow to cool completely to room temperature. Transfer the cooled jam into a pastry piping bag and set aside.
Double vanilla cashew butter
Preheat the oven to 325°F. Line a large rimmed baking sheet with parchment paper.
Spread the cashews in an even layer and bake for 18–22 minutes, tossing halfway through, until they are evenly golden and fragrant.
Let the cashews cool for about 10 minutes. While they are still warm to the touch, transfer them to a high-speed blender or food processor along with the kosher salt.
Process on low, gradually increasing the speed. Run the machine until the cashews release their oils and transform from a paste into a smooth, runny butter, scraping down the sides as necessary.
Add the vanilla extract and scraped vanilla bean seeds. Blend for another 30 seconds until fully incorporated.
Allow the nut butter to cool completely to room temperature, then transfer it into a separate pastry piping bag.
Assemble
Snip the tips off both piping bags to create an opening about 1 cm wide.
Hold a clean, sterilized glass jar at a slight horizontal angle. Alternating between the jam and the cashew butter, pipe vertical stripes from the absolute bottom of the jar to the rim.
Rotate the jar slowly as you work to keep the pattern clean and prevent the layers from mixing or sinking. It might get a little messy but keep going until the jar is completely filled.
Seal with an airtight lid and store in the refrigerator for up to 3 months.